Posts | Comments

Planet Arduino

Archive for the ‘arduino uno’ Category

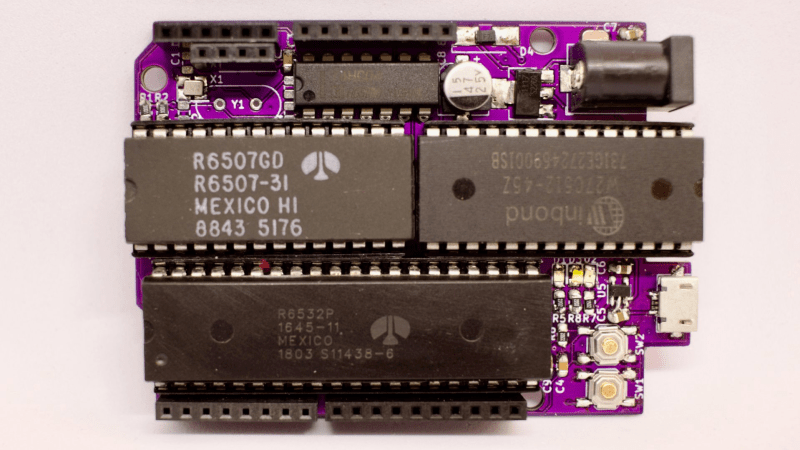
ElectroBoy on hackaday.io has created a development board using a Microchip Atmel AT89S52, a modern reimagining of the Intel 8051 microcontroller from 1980.

As you might see, the performance of a microcontroller depends on architecture, clock rates and Design logic. 80s52 has higher performance and better features than (the) Original (8051) microcontroller with 8KB onboard Flash as program memory.

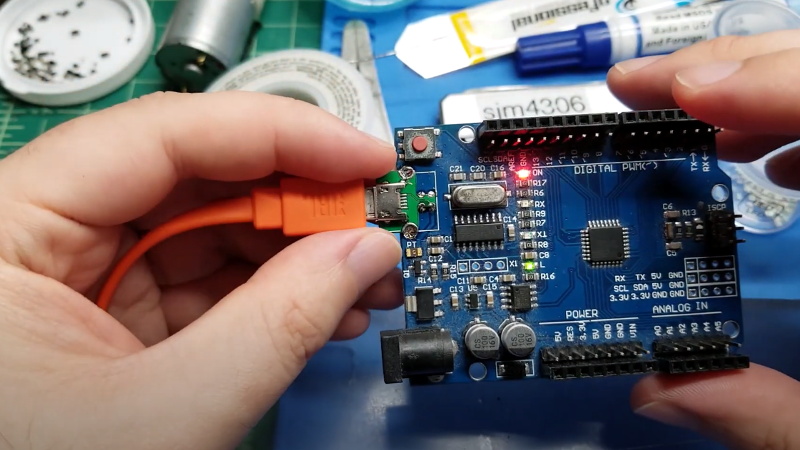
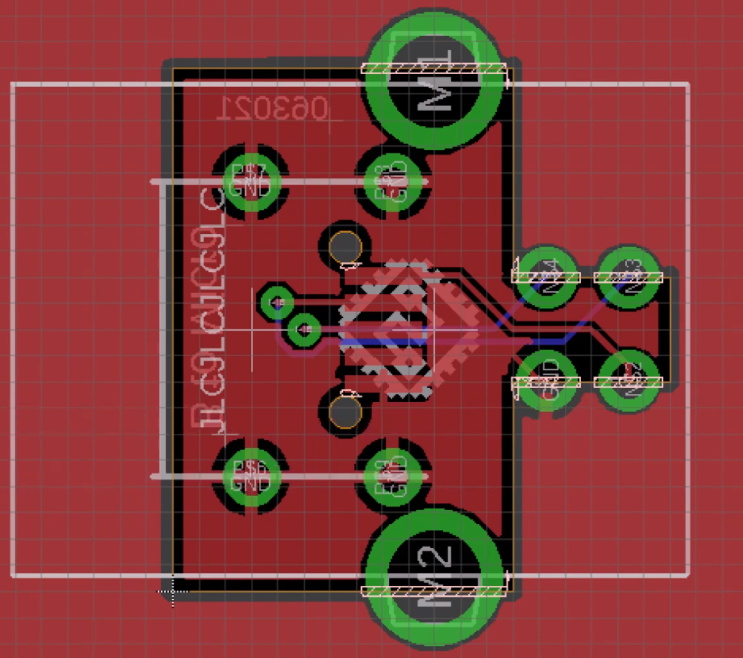
I took inspiration from Arduino UNO and designed a PCB with all the controls on it, the programming headers are placed on one header, and all the 4 ports have dual headers. I also designed the power section with some capacitor, Dc jack and linear voltage regulator on the same board.

Comparing the 8051 with the Microchip AT89S52:

Original 8051 Features:

  • 40 pins DIP (dual inline package),
  • 4KB of ROM storage
  • 128 bytes of RAM storage
  • 2 16-bit timers
  • Low-power Idle and Power-down Modes
  • It consists of four parallel 8-bit ports (32 Programmable I/O Lines)
  • An on-chip crystal oscillator having crystal frequency of 12 MHz

80s52 Custom 8051 microcontroller:

  • 8KB of In-System Programmable (ISP) Flash Memory
  • 4.0V to 5.5V Operating Range
  • Fully Static Operation: 0 Hz to 33 MHz
  • 256 x 8-bit Internal RAM
  • 32 Programmable I/O Lines
  • 3 16-bit Timer/Counters
  • Eight Interrupt Sources
  • Full Duplex UART Serial Channel
  • Low-power Idle and Power-down Modes
  • Interrupt Recovery from Power-down Mode
  • Watchdog Timer
  • Dual Data Pointer

Read more on hackaday.io and Hackaday.

After some inconsistent and unreliable results reading an analog input from an ESP32 board, Dr. Simon Monk decided to get scientific and do some experimenting.

Three boards were chosen: An ESP32, a Raspberry Pi Pico and the ATmega328p-based Arduino Uno R3.

I was particularly interested in three things:

  • finding any dead-zones at each end of the analog input voltage range
  • measuring the reproducibility of the readings
  • linearity through the range

On looking at the documentation in MicroPython and learning that the analog readings for a Pico and ESP32 come at a massive 16 bit precision (a number between 0 and 65536) it’s easy think that their analog inputs are much better than the paltry 10 bits of an Arduino (0 to 1023 reading range). But this is to confuse precision with accuracy. It’s why pure megapixels is not the best way to judge a camera. So much depends on the lens.

So, if you are trying to get decent accuracy and reproducibility from your analog readings, then you probably want to take a set of readings and average them — or use an Arduino Uno R3!

See the whole test series in the excellent post here.


Thermal cameras can cost well into the five-figure range if you’re buying high-resolution models with good feature sets. New models can be so advanced that their export and use is heavily controlled by certain countries, including the USA. If you just want to tinker at the low end, though, you don’t have to spend a lot of scratch. You can even build yourself something simple based on an Arduino Uno!

The build uses Panasonic’s cheap “Grid-EYE” infrared array as the thermal sensor, in this case, a model with an 8×8 array of thermopiles. It’s not going to get you any fancy images, especially at long range, but you can use it to get a very blocky kind of Predator-vision of the thermal radiation environment. It’s a simple matter of hooking up the Grid-EYE sensor to the Arduino Uno over I2C, and then spitting out the sensor’s data in a nice visual form on a cheap TFT screen.

It’s a great introduction to the world of thermal imaging. There’s no better way to learn how something works by building a working example yourself. We’ve featured a few similar projects before, too; it’s all thanks to the fact that thermal sensors are getting cheaper and more accessible than ever!

As fun as claw games are, the jaws are always disappointingly weak, and you usually end up with bupkis. What if the jaws were completely within your  control? That’s the idea behind [Upside Down Labs]’ muscle-controlled servo claw game.

While electromyography (EMG) is great for identifying neuro-muscular abnormalities and allows for amazing prosthetic limbs to work, it can also be used for fun. As you’ll see in the video after the break, accurate block-stacking (and possible candy-grabbing) depends on teamwork and tensed muscles.

Though the user provides the muscle, the brains behind this operation is an Arduino Uno with a Muscle BioAmp shield stacked on top, which [Upside Down Labs] also created. This shield makes it ridiculously easy to connect EMG sensors and other I²C devices like screens and, well, servo claws. From there, it’s really just a matter of printing the claw, connecting it to a 9g servo, and using an accompanying kit to prepare the skin and connect the muscles to the Arduino. Be sure to check it out in tense block-stacking action after the break.

If you want to listen in on your muscles, look no further than the BioAmp EMG Pill.

We are excited to announce that the Arduino Cloud now supports the UNO R4 WiFi board, providing makers with seamless connectivity and enhanced features.

Building upon the recent release of the much-anticipated UNO R4 in our store, this new integration significantly amplifies the capabilities of the Arduino Cloud. The UNO R4 WiFi is a revolutionary addition to the Arduino family, combining the widely popular UNO R3 form factor with built-in WiFi connectivity. It is perfect for all users, from beginners to experts, wanting to explore the forefront of innovation and IoT projects creation.

How to connect UNO R4 WiFi to Arduino Cloud

With the Arduino Cloud, connecting your UNO R4 WiFi board becomes a breeze. Our user-friendly interface and intuitive workflows ensure a smooth setup process. To get started, follow our usual “Add a device” workflow:

  • Visit Arduino Cloud.
  • Connect your UNO R4 WiFi to your PC.
  • Navigate to the Devices section and click on “Add Device.” Your board will be detected automatically.
  • The workflow will guide you through updating the connectivity firmware to ensure compatibility.
  • Once the update is complete, your UNO R4 WiFi is ready to be managed from the Arduino Cloud.

UNO R4 WiFi + Arduino Cloud = Unleash your creativity

Develop from anywhere using the web editor, share your sketches with your colleagues and friends, create dashboards to monitor and control your devices remotely from a browser or your mobile phone, share information between multiple devices, or integrate seamlessly your devices with Alexa. 

About Arduino Cloud

The Arduino Cloud is the next exciting journey for IoT enthusiasts to bring their projects to life quickly. It is an all-in-one intuitive IoT platform, supporting a wide range of hardware and backed by the vibrant Arduino community. Arduino Cloud removes complexity to empower users from all levels of expertise to create from anywhere, control and share their projects with stunning dashboards.

Sign up for Arduino Cloud now and unleash the full potential of your UNO R4 WiFi board!

The post Introducing UNO R4 WiFi support in the Arduino Cloud appeared first on Arduino Blog.

As an introduction to embedded electronics and programming in a straightforward environment, there isn’t much out there that can hold a torch to the Arduino Uno. Cheap (especially if you count the clones), easy to find, and quick to deploy, with countless support libraries, it’s a go-to for many a hack. This scribe simply can’t remember how many he’s bought, hacked, and deployed over the years. But can it be improved? [John Loeffler] thinks so, and his 2023 Hackaday Prize entry, the Uno Plus+ could be the one.

If this is too much bling for you, there is a version with LEDs adjacent to non-illuminated headers.

After clearing the top deck of extraneous components (by shoving them on the bottom) there was much more space to expand the header labeling, so there can be no accidental misplacement of those DuPont wires this thing will inevitably sprout randomly.

The board also has an additional Stemma/Qwiic connector and a Neopixel LED for indication duties. Also sitting on the PCB bottom are a ton of opamps, to drive the header indicators. Yes, this board has a full set of colour-coded LED bling indicators, showing the logical state of each and every pin on all headers, giving an easy way to check the desired activity is occurring. Plus it looks cool. Illuminated headers? YES!

Think the Uno too light on resources to perform any meaningful modern workloads? Think again!

[Anders Nielsen] presents his entry for the 2023 Hackaday Prize: The 65uino. Which as you might be able to guess, is a 6502-based microcomputer wedged into an Arduino Uno form factor (well, almost wedged in, but we’ll let it slide) The premise is simple, older micros are easier to understand, the board can be build up from new-old or salvaged stock, and that’s more chips on boards and less sitting on a dusty shelf. After all, even though the 6502 in its original form is long obsolete, it’s far better to be pushing some electrons around, than sitting there decaying.

The OLED frame buffer is bigger than the host’s entire RAM. No problem!

From an educational perspective, the first lesson is the hand-soldering of through-hole DIP components and a smattering of straightforward surface mount parts in their supporting roles.  Then on to setting up the cc65 toolchain. To say this is a pure 6502 system is a little misleading, it actually uses the 6507 device variant, which is a die-bond variant of the same device but with only 28 of the pins utilized.

The use of the 6532 RIOT (RAM-I/O-Timer) chip provides two 8-bit ports of GPIO as well as a timer and 128 bytes of SRAM, making the design more compact. There is a socket that will accept a 24 or 28-pin E(E)PROM device, with the extra four pins removable and the PCB snapped off if fitment into a standard ‘Uno case is desirable. Neat!

Full hardware build and PCB design (using KiCAD) are available on the 65uino GitHub page. Just remember folks, with everything minimal 6502 related — some assembly required :D

We see the 6502 a lot, let’s be fair. But why not? Here’s a slightly more practical board with a bit more resources, an absolute beast of a luggable dual-6502 machine, and yet another 6502 verilog implementation ready to be dropped into a spare corner of a FPGA project that needs a little extra.

A 3D-printed mini laser engraver made from DVD-RW drive motors.

Got a couple of old DVD-RW drives lying around, just collecting dust? Of course you do. If not, you likely know where to find a pair so you can build this totally adorable and fully dangerous laser engraver for your desk. Check out the complete build video after the break.

[Smart Tronix] doesn’t just tell you to salvage the stepper motors out of the drives — they show you how it’s done and even take the time to explain in writing what stepper motors are and why you would want to use them in this project, which is a remix of [maggie_shah]’s design over on Thingiverse. As you might expect, the two steppers are wired up to an Arduino Uno through a CNC shield with a pair of A4988 motor drivers. These form the two axes of movement — the 250mW laser is attached to x, and the platform moves back and forth on the y axis. We’d love to have one of these to mess around with. Nothing that fits on that platform would be safe! Just don’t forget the proper laser blocking safety glasses!

Need something much bigger that won’t take up a lot of space? Roll up your sleeves and build a SCARA arm to hold your laser.

Even with more and more devices making the leap to USB-C, the Arduino Uno still proudly sports a comparatively ancient Type-B port. It wouldn’t be a stretch to say that many Hackaday readers only keep one of these cables around because they’ve still got an Uno or two they need to plug in occasionally.

Looking to at least move things in the right direction, [sjm4306] recently set out to create a simple board that would let him mount a micro USB connector in place of the Uno’s original Type-B. Naturally there are no components on the PCB, it simply adapts the original through-hole footprint to the tight grouping of surface mount pads necessary to mount a female micro USB port.

Making castellated holes on the cheap.

The design is simple enough, but as [sjm4306] explains in the video below, there’s actually a bit more to the story than you might think. Looking to avoid the premium he’d pay to have the board house do castellated holes, he cheated the system a bit by having the board outline go right through the center of the standard pads.

Under a microscope, you can see the downside of this approach. Some of the holes got pretty tore up as the bit routed out the edges of the board, with a few of them so bad [sjm4306] mentions there might not be enough of the pad left to actually use. But while they may not be terribly attractive, most of them were serviceable. To be safe, he says anyone looking to use his trick with their own designs should order more boards than they think they’ll actually need.

Of course you could go all the way and retrofit the Uno with a USB-C port, as we’ve seen done with devices in the past. But the latest-and-greatest USB interface can be a bit fiddly, especially with DIY gadgets, so we can’t blame him for going with the more reliable approach.

How much water have you had to drink today? We would venture to guess that the answer is somewhere between ‘absolutely none’ and ‘not not nearly enough’. You can go ahead and blame poor work/life balance — that’s our plan, anyway — and just try to do better. All this working from home means the bathroom situation is now ideal, so why not drink as much water as you can?

But how? Well, you’re human, so you’ll need to make it as easy as possible to drink the water throughout the day. You could fill up one big jug and hoist it to your mouth all day long (or use a straw), but facing that amount of water all at once can be intimidating. The problem with using a regular-sized vessel is that you have to get up to refill it several times per day. When hyper-focus is winning the work/life tug-of-war, you can’t always just stop and go to the kitchen. What you need is an automatic water dispenser, and you need it right there on the desk.

[Javier Rengel]’s water pomodoro makes it as easy as setting your cup down in front of this machine and leaving it there between sips. As long as the IR sensor detects your cup, it will dispense water every hour. This means that if you don’t drink enough water throughout the day, you’re going to have it all over the desk at some point. [Javier] simply connected an Arduino UNO to a water pump and IR sensor pair and repurposed the milk dispenser from a coffee machine. Check it out in action after the break.

Of course, if you aren’t intimidated by the big jug approach, you could keep tabs on your intake with the right kind of straw.


  • Newsletter

    Sign up for the PlanetArduino Newsletter, which delivers the most popular articles via e-mail to your inbox every week. Just fill in the information below and submit.

  • Like Us on Facebook