Posts | Comments

Planet Arduino

Archive for the ‘Retro Gaming’ Category

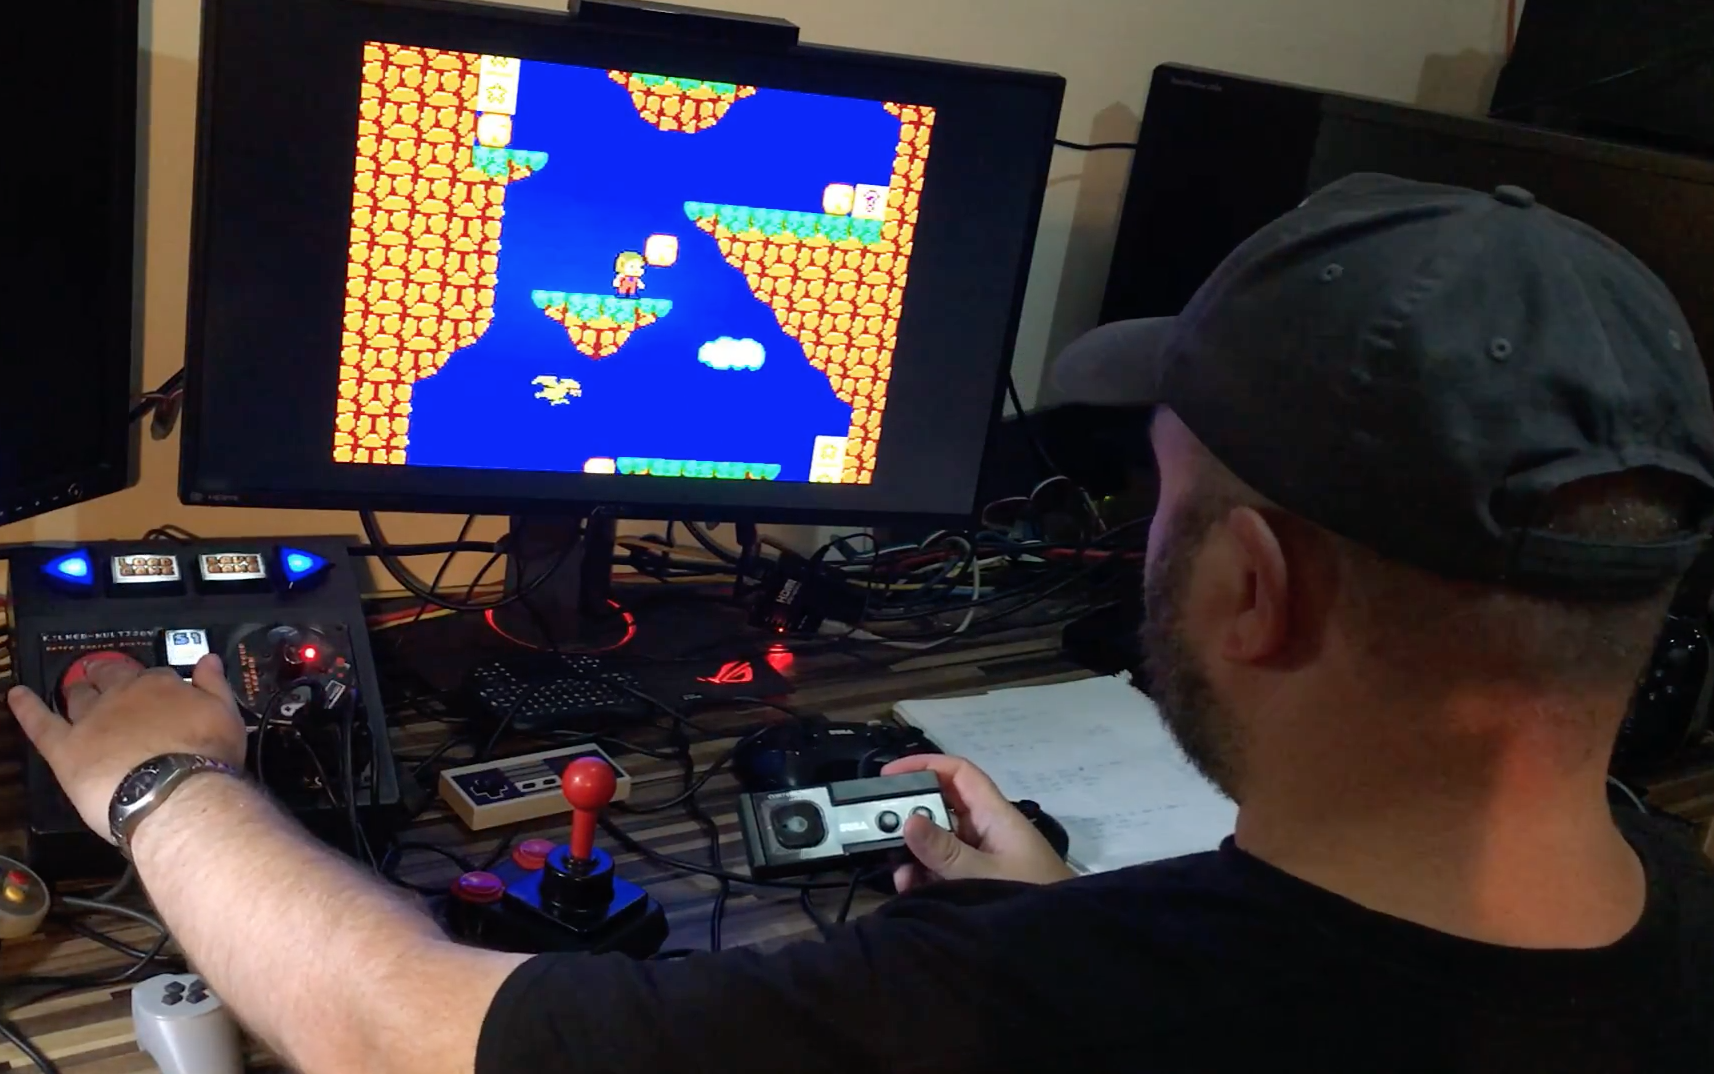
For owners of Sinclair ZX Spectrum computers in the ‘80s, few games were more desirable than Matthew Smith’s Manic Miner. It is very much a classic and has official and unofficial ports available for just about every console and computer released since. There was even a port made for Microsoft’s Zune MP3 player. And now you can play it on an Arduino UNO thanks to Scott Porter’s custom game engine and port.

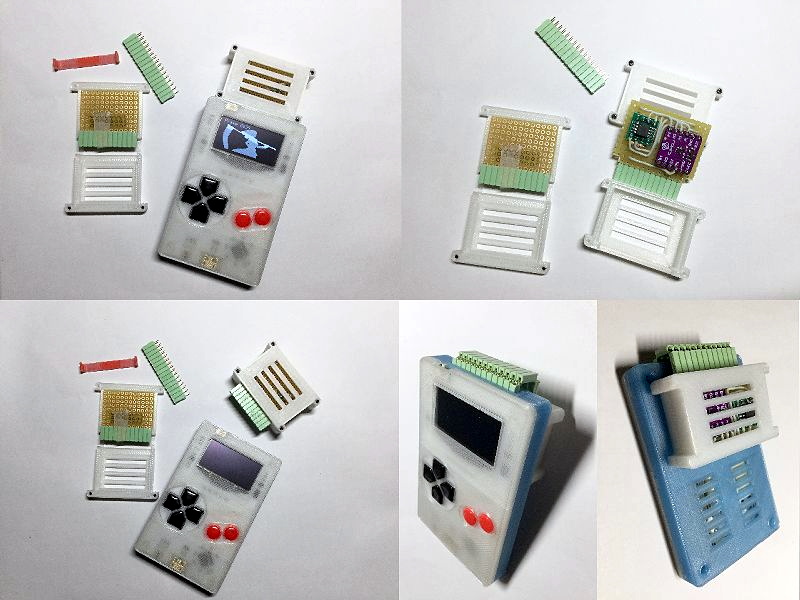
This isn’t the first time someone has done this, as James Bowman created a Manic Miner port for Gameduino a decade ago. But Porter’s project is a little different. His port runs on a custom engine on an Arduino UNO Rev3 that produces composite video output through a custom shield. That shield also contains a speaker driver circuit, buttons for control, and a port to connect an NES controller for a more comfortable gaming experience.

Porter’s biggest challenge was generating video, as that requires very accurate timing. For that reason, he recommends using an official UNO and not generic boards that sometimes cut corners with resonators instead of crystals. 

The game engine is impressive, with a fixed framerate of 50fps at 256×256 and up to nine sprites on screen. One of those sprites can have pixel-perfect collision detection with all of the others, which is ideal for a game like Manic Miner. But the video is monochrome and there do seem to be some glitches evident in the demonstration video. Regardless, this is very impressive and we’re excited to see what else Porter can achieve with his engine. 

The post This new game engine runs Manic Miner on an Arduino UNO appeared first on Arduino Blog.

In the early ’90s, Sega shipped its Game Gear console with a falling-block puzzle game called Columns. This Tetris-like game invited users to match colored “jewels” on the ground with lines of three new colors that drop from above. Michael A. Maynard envisioned building his own portable version of Columns at the time, but without electronics like Arduino boards and addressable RGB LEDs, the project just wasn’t in the cards.

Nonetheless, after years of consideration, he’s finally been able to create such a handheld. He used an Uno for development, which was replaced by a Nano in the current iteration. 

His system manipulates the falling jewels through a 6×13 LED matrix, with a three-LED preview display, seeven-segment LEDs for game stats, and dual-motor haptic feedback. The game even features stereo sound, with effects, and music produced via dual MP3 player modules.

The ArduBoy, as you might have guessed from the name, was designed as a love letter to the Nintendo Game Boy that many a hacker spent their formative years squinting at. While the open source handheld is far smaller than the classic DMG-01, it retains the same general form factor, monochromatic display, and even the iconic red LED to the left of the screen. But one thing it didn’t inherit from the original was the concept of removable game cartridges. That is, until now.

Over the last year, [Mr.Blinky] and a group of dedicated ArduBoy owners have been working on adding a removable cartridge to the diminutive handheld. On paper it seemed easy enough, just hang an external SPI flash chip off of the test pads that were already present on the ArduBoy PCB, but to turn that idea into a practical cartridge required an immense amount of work and discussion. The thread on the ArduBoy community forums covers everything from the ergonomics of the physical cartridge design to the development of a new bootloader that could handle loading multiple games.

Early cartridge prototypes.

The first problem the group had to address was how small the ArduBoy is: there’s simply no room in the back to add in a cartridge slot. So a large amount of time is spent proposing different ways of actually getting the theoretical cartridge attached to the system. There was some talk of entirely redesigning the case so it could take the cartridge internally (like the real Game Boy), but this eventually lost out for a less invasive approach that simply replaced the rear of the ArduBoy with a 3D printed plate that gave the modders enough room to add a male header along the top edge of the system.

As an added bonus, the cartridge connector doubles as an expansion port for the ArduBoy. While perfecting the design, various forum users have chimed in with different gadgets that make use of the new port, from WS2812B LEDs to additional input devices like joysticks or a full QWERTY keyboard. Even if you aren’t interested in expanding the storage space on your ArduBoy, being able to plug in new hardware modules certainly opens up some interesting possibilities.

In fact, the project so impressed ArduBoy creator [Kevin Bates] that he chimed in on the topic last month to announce he would start looking into integrating the community’s cartridge modification into the production hardware. If all goes well, pretty soon there might be an official upgrade path for those who want to expand what this tiny nostalgia machine is capable of.

[Thanks to Roo for the tip.]

IT professional (and Arduino cap fan) John Milner had a minor problem. While his retro gaming setup could emulate a wide variety of systems and games, it was still missing the tactile feedback of the original controllers. Rather than “submit” to playing with only an Xbox 360 controller, he developed the Multijoy Retro Gaming System that can change gamepads with the turn of a knob using an Arduino Micro.

The resulting system lets him not only choose the original controller for each game, but if you want to mix things up and see how Super Mario Bros. would feel on a PlayStation 1, or even a Genesis controller, you can do that too! It also features shortcut buttons on the new console.

The Arduino presents itself as two joypads with native plug-and-play support for Microsoft Windows 7+ and Linux/RetroPie. The selector is simply a ring of LEDs with a potentiometer in the center, using the knob will move the lit LED to the desired controller pictured in that position, a simple system with an unexpected bonus of being a little retro in its appearance.

You can check it out in the video below, and see more of the project on his blog and on GitHub.

[Timothy Zandelin], a 15 years old Arduino enthusiast has sent us his first Arduino Project, an arcade interface based on Arduino Leonardo.

The cabinet is made of 4mm HDF and were laser cut at “Fabriken” in Malmö. The red arcade sign in the top is produced in 5mm translucent acrylic. All design and construction drawings were made in Illustrator. I used an Arduino Leonardo to connect the joystick, buttons and the LED light.  The game installed, Superstar Chefs, is an old game developed by my dad’s cousins.

On the other hand, Timothy also built his own prototyping board to learn about how to use different inputs and outputs.

My prototype board was made with Fritzing.

It includes:

- 6 green 3mm LED’s,

- 11 resistors (6 330 ohm, 4 10K ohm and one 100 ohm),

-1 dip8 socket with an ATtiny45,

- 1 potentiometer,

- 4 pushbutton and header sockets.

I created this prototype board to easily get started with Arduino.

Timothy, welcome on board!


  • Newsletter

    Sign up for the PlanetArduino Newsletter, which delivers the most popular articles via e-mail to your inbox every week. Just fill in the information below and submit.

  • Like Us on Facebook