Posts | Comments

Planet Arduino

Archive for the ‘Gaming’ Category

Arcade machines are a dying breed and that’s a shame, because their purpose-built approach to gaming is so wholesome. There is something intrinsically satisfying about a device that does one thing and does it well. If you want to bring that beauty into your own home, Migi has a great Instructables tutorial that will walk you through building your own arcade cabinet with custom Arduino-based controls.

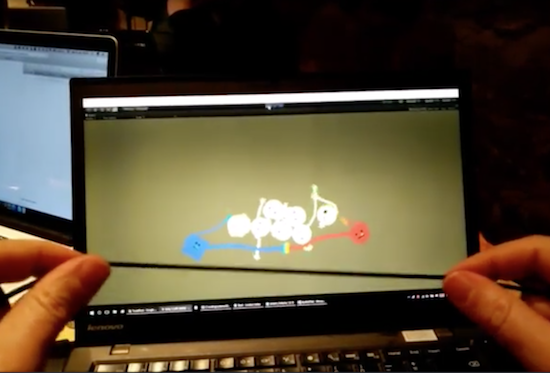
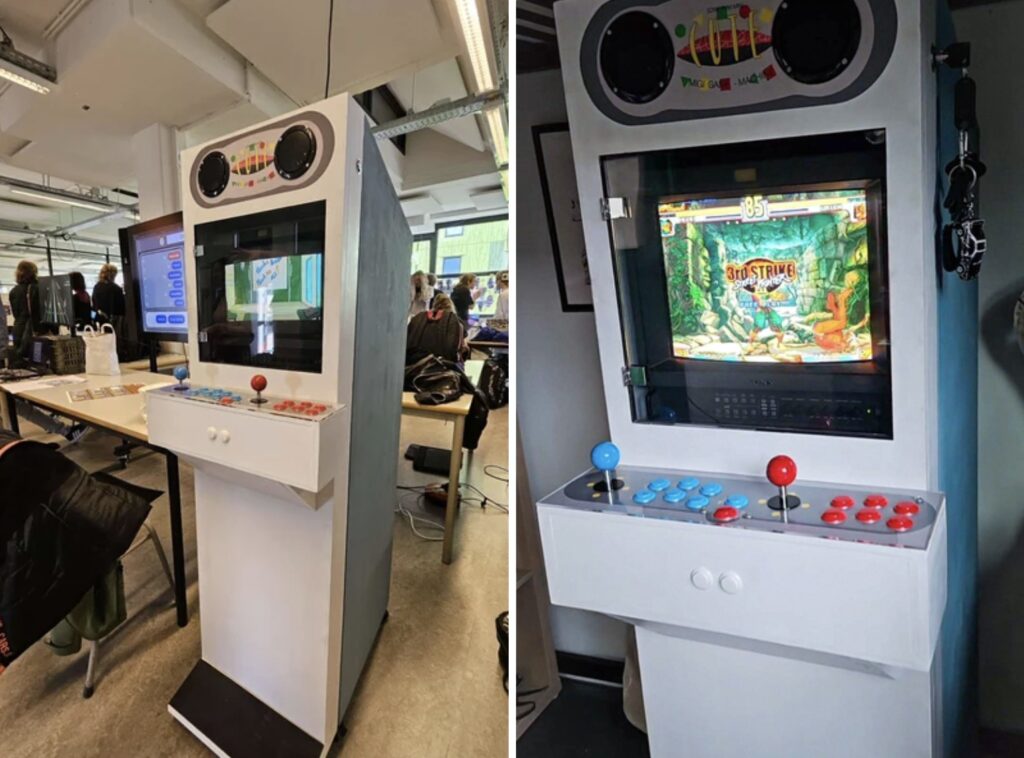
Migi’s cabinet design is inspired by Capcom’s Mini Cute line, which was a series of small arcade machines popular in Japanese cafes. But while it is smaller than standard arcade cabinets, it is still big enough to feel substantial. An old laptop runs MAME or whatever other emulation software the user desires. Because a CRT (cathode-ray tube) display is a must for an arcade cabinet, Migi used a 14” Sony PVM (Professional Video Monitor). Those tend to be pretty pricey these days, so anyone replicating this build may want to entertain other CRT options.

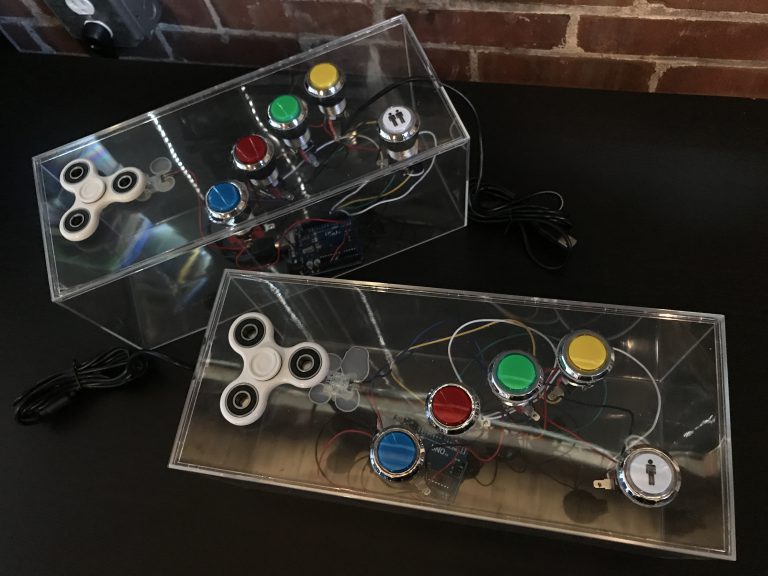
Arcade games need rock-solid controls, so Migi designed this to utilize Sanwa buttons and sticks. The cabinet has controls for two players, with an Arduino UNO Rev3 dedicated to each set of controls. Migi set it up that way to make the software setup easier, as each Arduino will appear as its own gamepad in the emulation software. 

Migi constructed the cabinet itself using a combination of MDF and acrylic. A big laser cutter made that fabrication a snap, but less well-equipped hobbyists may have to utilize alternative tools like handheld routers. With a coat of paint and some printed graphics, it looks fantastic. And the Sanwa controls should hold up to decades of heavy use. 

The post Build an adorable arcade cabinet with custom controls appeared first on Arduino Blog.

flipper zero video game module

Flipper Zero hardware & wireless hacking tool can now be used as a proper game console thanks to a Raspberry Pi RP2040-powered video game module that mirrors the display of the device on a larger monitor or TV via DVI/HDMI video output, and also adds a 6-axis motion tracking sensor. The Flipper Zero has been in the news in recent days, notably with Canada’s government banning the device due to car theft (although it only seems feasible on older cars), and today the company has announced the launch of a video game module developed in collaboration with Raspberry Pi Ltd. Video game module specifications: MCU – Raspberry Pi RP2040 dual-core Arm Cortex-M0+ microcontroller clocked up to 133 MHz with 264 kB SRAM Video Output – DVI-D at 640х480 with 60 Hz refresh rate. It also supports HDMI. USB – USB Type-C port connected to the microcontroller. Acts as a USB device [...]

The post Flipper Zero gets a Raspberry Pi RP2040-powered video game module appeared first on CNX Software - Embedded Systems News.

Inspired by a recent project involving Disney’s MagicBand technology, William Wimberly and Anthony Pallitta created an Arduboy-compatible RFID scanner they call the Ardumiibo, along with a DIY rumble pack. The Ardumiibo got its name from Nintendo’s Amiibo system, which allows players to tap NFC-equipped figurines and see them within a game. In a similar manner, the Ardumiibo enables users to scan their NFC tags on a device built from an Arduino Leonardo board and PN532 RFID module. 

The NFC scanning system is contained within a small 3D-printed enclosure that also has a NeoPixel ring around the top for some added flair. It connects to the host Arduboy device via a serial cable, which allows for programs on the gaming system to simply implement the protocol for communicating with the Ardumiibo. As for the rumble pack that is integrated into the scanner, it is attached to the Arduboy over pin 2 that lets the game send pulses with the Tone commands for haptic feedback or playing small songs. 

The Ardumiibo is a great little gadget that lets Arduboy game designers easily add both rumble and NFC capabilities to their systems. You can read more about the duo’s work in their Hackster write-up here and find their design files and code here on GitHub.

The post Scan items from the real world into your Arduboy games with the Ardumiibo appeared first on Arduino Blog.

One of the first things many makers try to do when they receive a new piece of cool hardware is write a game for it. This is exactly what Johan Halmén did with his Breakout console that uses the Arduino MKR IoT Carrier board and an MKR1000 to both run and display the game. 

Breakout typically involves moving a paddle horizontally along the bottom of the screen to bounce a ball that can destroy the bricks above it. However, since the carrier board’s color OLED screen is circular, Halmén had to create a different version of this, which he calls “BreakIn.” His game features a bunch of hexagonal tiles in the middle and a paddle that moves around the outside that is controlled by the onboard accelerometer. This lets the player tilt the device to move their paddle quickly and accurately. 

Getting the circular display to work was a bit more of a challenge than a normal square one because coordinates had to be mapped using a bit of trigonometry first. Additionally, figuring out the angle of tilt and the collision geometry took some math as well. But once everything was up and working, the game was very fun to play, as can be seen in Halmén’s demo video below. 

To read more about the code that went into this project, check out its Instructables write-up here.

The post Using the MKR IoT Carrier Board as a game console appeared first on Arduino Blog.

Although mechanical keyboards are more popular than ever in gaming communities, getting that perfect “click” when you press down on the key is still being chased. That’s why maker Jason Ron wanted to convert an old typewriter into the perfect gaming controller. It works by using some tape wrapped around several of the typebars that either reflects more light when held up or none when it’s lowered. A pair of IR emitters and receivers were used to detect these changes in light levels, where their values were then read by an Arduino Leonardo

The code Ron wrote takes advantage of the Leonardo’s native USB peripheral, letting it act as a keyboard for a host device. When the light level falls between certain predetermined values a key is pressed virtually and then sent to the computer, although this functionality can be toggled on or off to prevent unwanted keypresses. 

If you want to see more about how this project was built along with some footage of Ron playing Red Dead Redemption 2, be sure to check out the video below and associated write-up on his blog.

The post Typewriter turned into mechanical keyboard for gaming appeared first on Arduino Blog.

Do you long for a more pronounced way to rage quit video games? Smashing buttons comes naturally, of course, but this hurts the controller or keyboard. You can quit your longing, because [Insert Controller Here] has an elegant solution that’s worth its salt.

The Salty Rage Quit Controller is simple. The cup is filled with distilled water. When you pour salt in it, the two bolt terminals tell the Arduino Micro that the resistance in the water has decreased. The Micro sends whatever keystrokes you want, so you could call out your deadbeat medic before quitting, or just plain leave. [Insert Controller Here] has example code on his site to get you started. Click calmly past the break to watch the demo and build videos, or we’ll have to ban you for aggro.

With the right tools, you can turn anything into a game controller. Check out this car controller that uses Python and CAN bus sniffing.

Build video:

Thanks for the tip, [foamyguy]!

Apparently unsatisfied with existing video game input devices, game designer Rob Santos created his own using, what else, fidget spinners. His system combines a spinner and five buttons on a pair of controllers to interface with Flock Off, an arcade game loosely based on Flappy Bird.

To register spinner input, a magnet is embedded on each lobe, triggering a Hall effect sensor three times per revolution when spun. An Arduino in each control box reads these signals, then sends this information, along with button inputs, to the game via USB accessible through a serial port.

Although using the Uno means that the game must be programmed especially for this type of input, Santos notes that using an HID-capable board, such as the Leonardo, would give it the capability to act as keyboard input by itself.

RubberArms is an experimental rubber band game, created by Robin Baumgarten at the Global Game Jam 2017 in Yverdon-les-Bains, Switzerland.

The controller uses a conductive rubber cord from Adafruit that changes resistance as it’s stretched. This resistance is measured by an Arduino Micro/Leonardo (or a Teensy 3.2), which acts as a USB joystick sending signals to Unity3D. (The game is coded in Unity3D using Spring Joints and Line Renderers.)

At this point, the game is a simple prototype where you control the distance of two characters whose arms stretch whenever you stretch the rubber band, throwing little ‘Bleps’ around. You can read more about RubberArms on Baumgarten’s page, as well as his earlier project “Line Wobbler” here.

Go-Pokemon-Go-Game-Wallpaper-2016-Desktop-WallpaperDo you want to be the very best? Do you want to become a Pokemon Go master? Then here are 5 projects to help you level up and catch 'em all.

Read more on MAKE

The post 5 Projects Fit for a Pokemon Go Master appeared first on Make: DIY Projects and Ideas for Makers.

First there were text games, then came 2D dungeons. When Wolfenstein 3D broke out on the gaming scene, it created quite a fuss. But if all you’ve got is a strip of WS2812 LEDs, those are a few dimensions too many.

[treibair] has started up a project on Hackaday.io to start working on 1D video games to be played on a single LED strip. While the end application is something with a cool physical interface, probably driven by a microcontroller, prototyping is a lot easier on the big computer. He’s writing it in Processing, though, so that the transition to the Arduino is easier in the end.

Check out the video below.

There are a couple of other games out there in 1D, including Line Wobbler (YouTube) and, naturally, Wolfenstein 1D. We even saw a one-dimensional “snake” clone at Make Munich a few months back. (Would the author please stand up?)

We think the idea is a good one, and lining up everyone’s 1D gaming experience in one place would be a great help. So link up code and reviews in the comments!


Filed under: Arduino Hacks


  • Newsletter

    Sign up for the PlanetArduino Newsletter, which delivers the most popular articles via e-mail to your inbox every week. Just fill in the information below and submit.

  • Like Us on Facebook